CI for Automatic Recon
Hi hackers and bug bounty hunters 😁
CI/CD is a critical topic in both DevOps and DevSecOps. Since I work in DevSecOps, I have spent considerable time exploring and testing CI/CD practices. One day, I wondered if the CI concept could be applied to recon tasks. Thus, I decided to give it a try.
Today, I’m sharing my experience using CI for recon.
What Is CI (Continuous Integration)?
Continuous Integration (CI) is an automated process that frequently builds and integrates source code by running tests, merging changes, and updating repositories. This process is triggered by events such as code changes or scheduled intervals.
Why Use CI for Recon?
In my bug bounty work, I use and develop various tools, which generate a lot of data. I found that the results from different devices—for example, my testing server and my MacBook—often vary. I wanted to unify these varying results. That’s why I applied the CI concept to continuously integrate the bug bounty data.
How It Works
When triggered—either by adding a new target or on a weekly schedule—the pipeline uses an existing recon tool to perform analysis, commit the results to GitHub, and send notifications through Slack.

Jenkins + My private app + Slack notifications
Creating an Item Template
To manage each recon task, I first create a template item.
Connecting to the Git Repository
The pipeline connects to a Git repository to integrate the recon results seamlessly.

Running the Recon Tool
Next, the pipeline executes the recon tool. Customize the shell script based on your specific tool requirements. It’s important to use Git commands (for example, git commit -am 'msg') to update the repository with the new results.

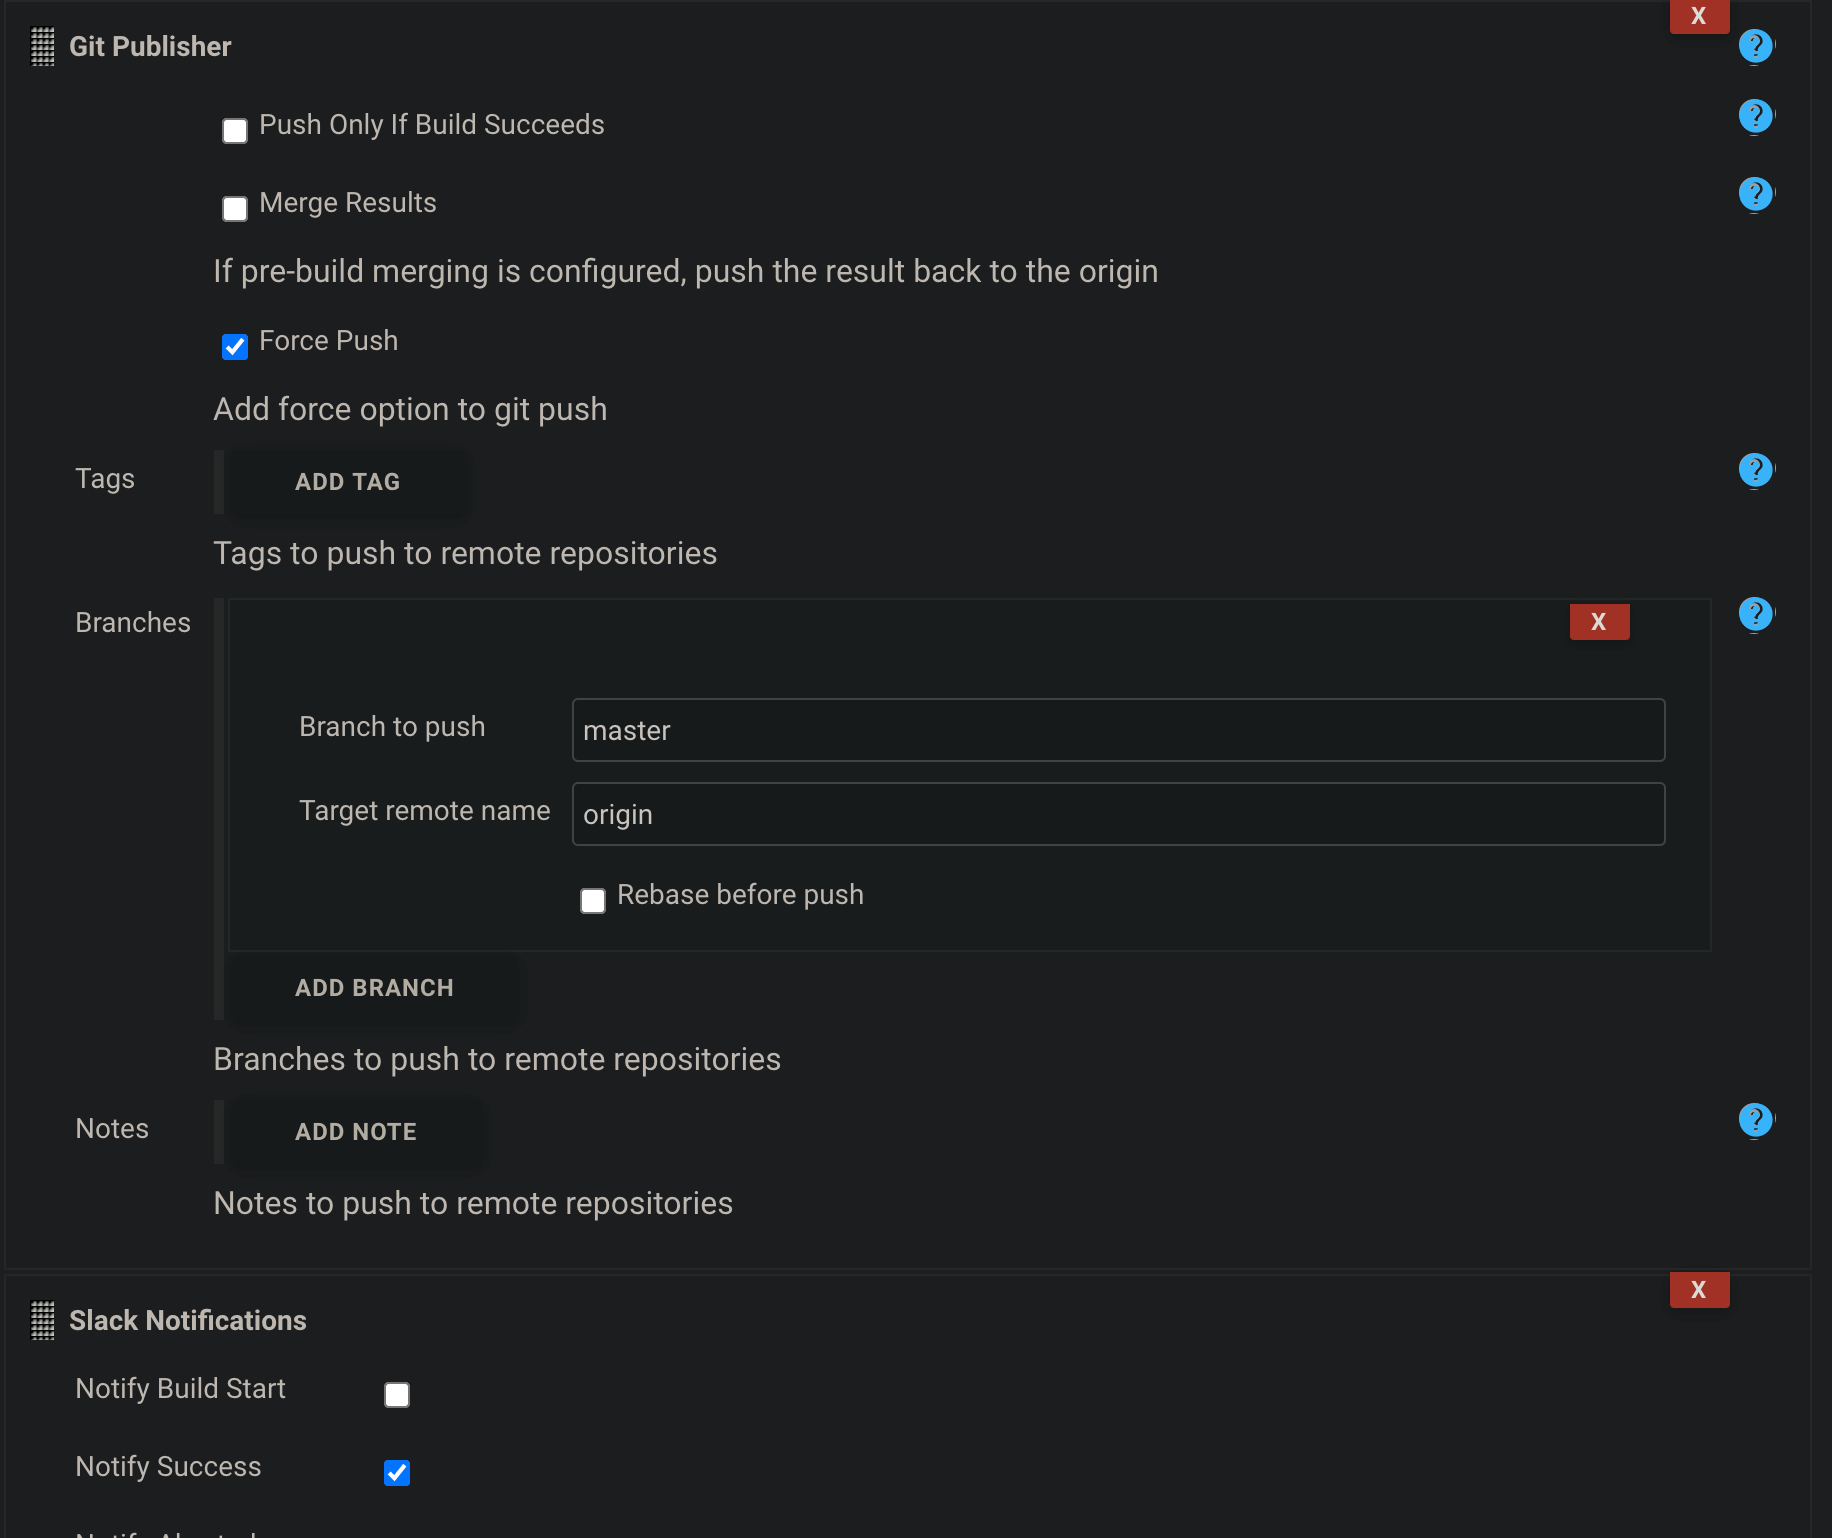
Configuring Git Publisher and Slack Notifications in Jenkins
Finally, the pipeline uses the Git publisher to push results to GitHub, and a Slack plugin sends notifications.

Running the Pipeline and Viewing Results
When you run the pipeline, you can observe the integration process:

After completion, a Slack notification is sent:

Finally, you can review the results:

Conclusion
Although this project started as a fun experiment, the results exceeded my expectations. I believe that continuously integrating analytical data can greatly enhance recon processes.
Later – 1 Day After

if [ ! -d bugbounty/$TARGET ]; then
    mkdir bugbounty/$TARGET;
fi
cd bugbounty/$TARGET;
export PATH=$PATH:/var/lib/jenkins/go/bin;
~/go/bin/D.E.V.I init;
touch s_target.txt
touch w_target.txt
if [ -n "$STARGET" ]; then
  echo "$STARGET" > s_target.txt
fi
if [ -n "$WTARGET" ]; then
  echo "$WTARGET" > w_target.txt
fi
~/go/bin/D.E.V.I recon;
git add --all;
git commit -am "update";
Later – 2 Weeks After
Two weeks later, I restructured the process as a Pipeline using a Jenkinsfile. This approach made it easier to manage the entire flow with shell pipelines and Groovy scripts rather than relying solely on the Go application logic.


